
This week at Hand Stamped Sentiments we are working with Unique Folds. Grab those bone folders, score pals and you tube tutorials and come and get your crease on with the rest of the design team!

I found this lovely fancy fold HERE and thought it was perfect to showcase this beautiful Sale -A- Bration DSPaper and ink up my Valentine, You are Loved stamp set for the first time...a little sneak peek so so speak!
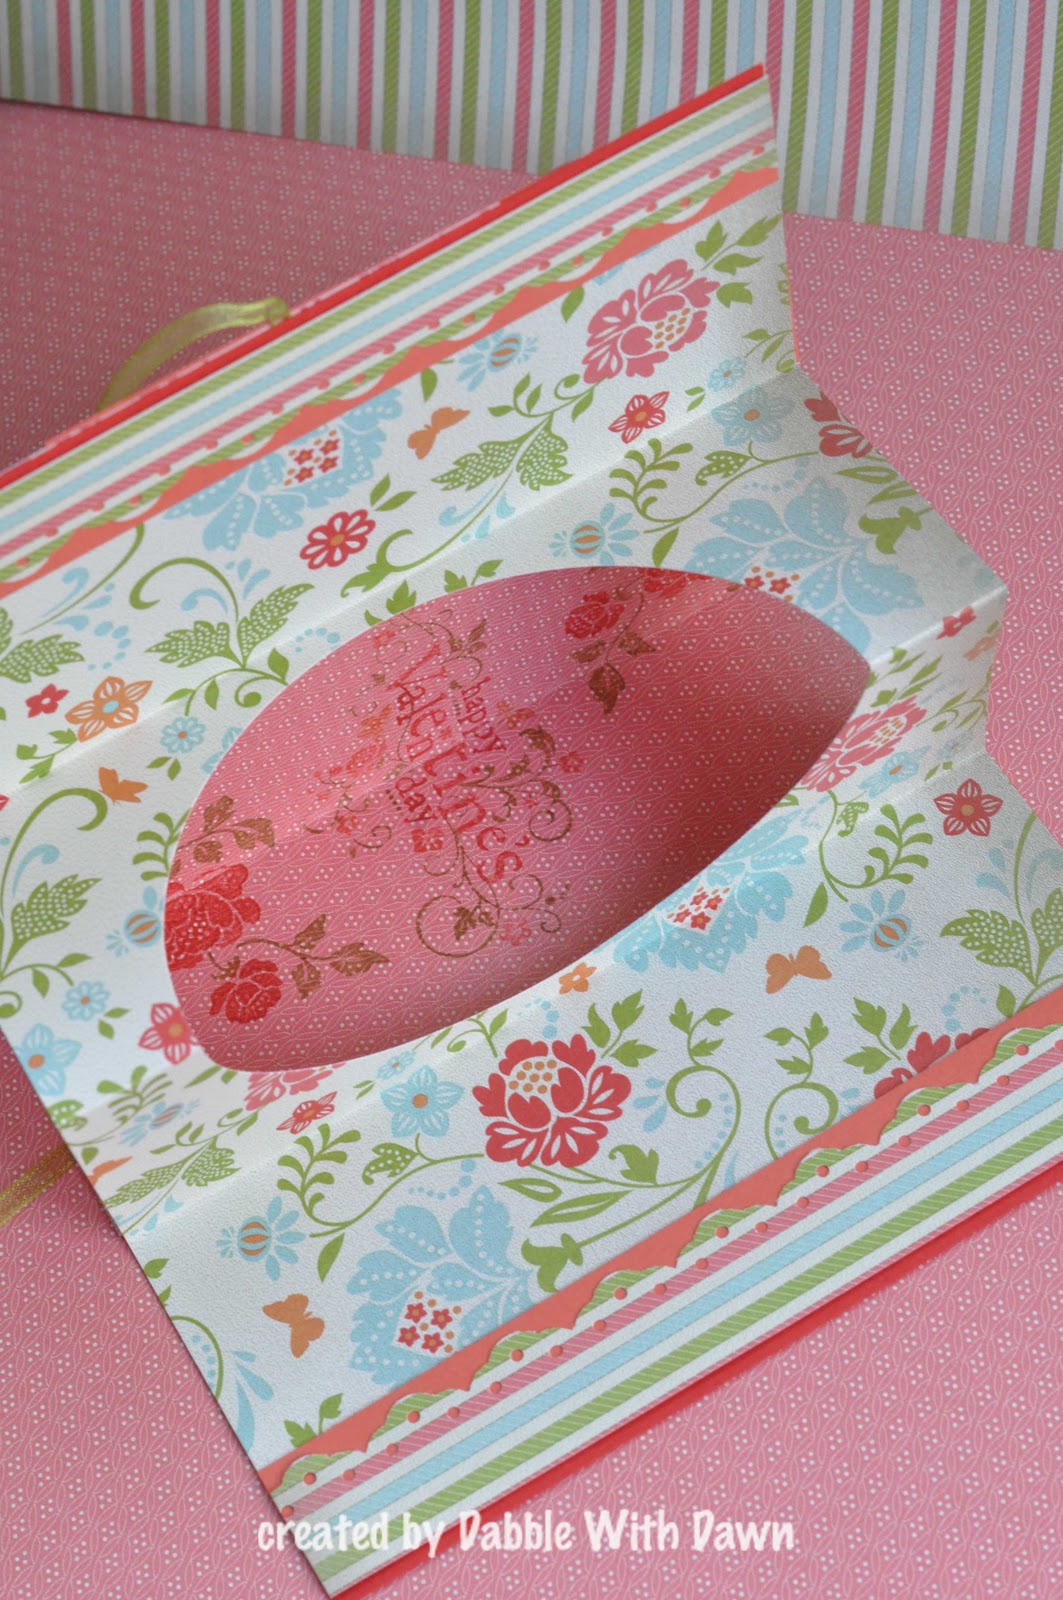
For my inside fancy fold, I cut the floral DSP the same as my card 8-1/2"X5-1/2" and then
scored at 2-1/8", 4-1/4" and 6-3/8"
with my Bigz Clear Circle Die, I was able to see where it would cut on my page, so I lined it up and ran it through my Big Shot.
I used a smaller piece of cardstock for the inside of my card where I stamped the Happy Valentines Day and scored that down the middle before inserting it onto my card. Then I adhered the top fancy folded piece and added the borders for a little bit of striped fun!
Since my card was a little thicker than normal and kept popping open, I attached some ribbon to tie it closed and then fancied up the front of my card.

front of my card

inside

I loved how this angle creates a heart shape
SU! products used:
Stamps - You are Loved
Paper - SAB Everyday Enchantment DSP, Poppy Parade, Very Vanilla, Calypso Coral
Ink/Markers - Basic Black, Poppy Parade, Calypso Coral, Peach Parfait, Lucky Limeade
Punch/Bigz - Eyelet Border, Clear Circle Die
Other - Manhattan Flower EF, Lucky Limeade Organdy Ribbon (from the SAB ribbon and brad pack)
note: SAB is short for Sale A Bration!


